


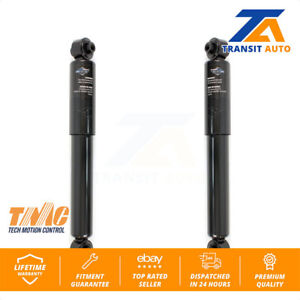


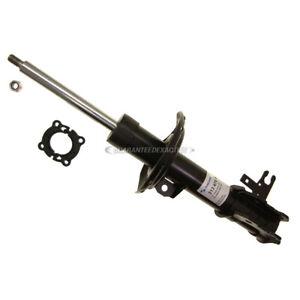


Shocks and Struts for Saturn Astra
Shocks and struts are important components of the Saturn Astras suspension system. While shock absorbers help prevent the Saturn Astra from bouncing around while in motion, struts contribute to the overall suspension. Because its mounted to the top of the chassis, the strut directly affects the steering system and the alignment angle.
When should the shocks and struts be changed?Its recommenced that a Saturn Astras shocks and struts be changed every 50,000 miles. However, this is not always necessary. Instead, you can have your suspension system inspected every 40,000 miles to ensure that the parts are all in good condition. If you notice that your vehicles front end does a diving motion when you apply your brakes, get them checked out. You may also need such repairs when making a turn and the vehicle makes a drastic dipping motion to one side or the other.
What are coilover suspension kits?A coilover suspension kit contains coil springs that fit over your Astras existing shocks. These coilovers, when installed, can enhance the vehicles performance, reduce body roll, and provide lowering for racing.
How do you replace a strut?Check the owners manual provided with your car for specific instructions, but in general, you may find these suggestions helpful.
- Using a jack, raise your Saturn Astra and apply support while working with jack stands. Soak the strut flange nuts and bolts on the vehicle with rust penetrant. Spray the strut-tower mounting nuts located under the hood. Measure the camber angle and record it for future reference.
- Disconnect the stabilizer bar end link, wheel speed sensor wiring harness, and any brake lines that are attached to your Astras strut. Remove the strut flange nuts and bolts. Separate the knuckle that is connected to the strut. Prevent your strut flange from damaging the CV boot by placing a small piece of plywood under the flange. Remove all but one of the strut mount nuts. Apply support to the strut before removing the last nut. Lower your strut onto your plywood while working. Once it is free, remove the original strut.
- Position your replacement strut into place and apply the first strut mount nut to secure the strut while you reinstall the remaining mounting nuts. Ensure that all mounting nuts are tight and securely in place, torqueing them to the right specifications for the Saturn Astra. You may need to reference the owners manual for this step. Place the steering knuckle back into the strut flange. You will need to use a pin punch to maintain proper alignment of the bolt holes. Remove the pin punch and continue inserting and securing all other bolts into place. Only snug the bolts without completely tightening them.
- Reattach the angle gauge and slide the knuckle in and out until you are able to meet the original angle specs that you recorded. Once you are comfortable with the camber angle, torque the nuts onto the bolts according to tech specs and recheck your angle for accuracy. Make any adjustments that are required. Reconnect the brake lines, wheel speed sensor wiring harness, and stabilizer bar end link.